

Step-by-Step Installation Guide: ArgoCD via Helm Chart and Deploying the First Application


ArgoCD is a popular tool for implementing continuous delivery in a Kubernetes environment. In this blog post, we'll walk you through the process of installing ArgoCD using a Helm chart, accessing the ArgoCD dashboard, and setting up your first application using ArgoCD.
Prerequisites
Before we begin, make sure you've set up the following:
A Kubernetes cluster - You can use any Kubernetes service like Minikube, Kind, Docker Desktop, etc. This tutorial assumes you have admin access to a Kubernetes cluster.
Helm - Helm is a package manager for Kubernetes that simplifies the deployment of applications. Make sure you have installed Helm version 3.x. You can refer to this blog on How to install helm
Kubectl - This is the command-line tool for Kubernetes. It allows you to run commands against Kubernetes clusters. Make sure the kubectl command is installed and configured to interact with your Kubernetes cluster.
Step 1: Add the Argo CD Chart
First, we need to add the ArgoCD Helm repository by executing the following command in a terminal:
helm repo add argo https://argoproj.github.io/argo-helm

Now, we need to update the Helm repository list to integrate the latest changes:
helm repo update
Next, we will install ArgoCD in the argocd namespace:
kubectl create namespace argocd
helm install argocd argo/argo-cd --namespace argocd
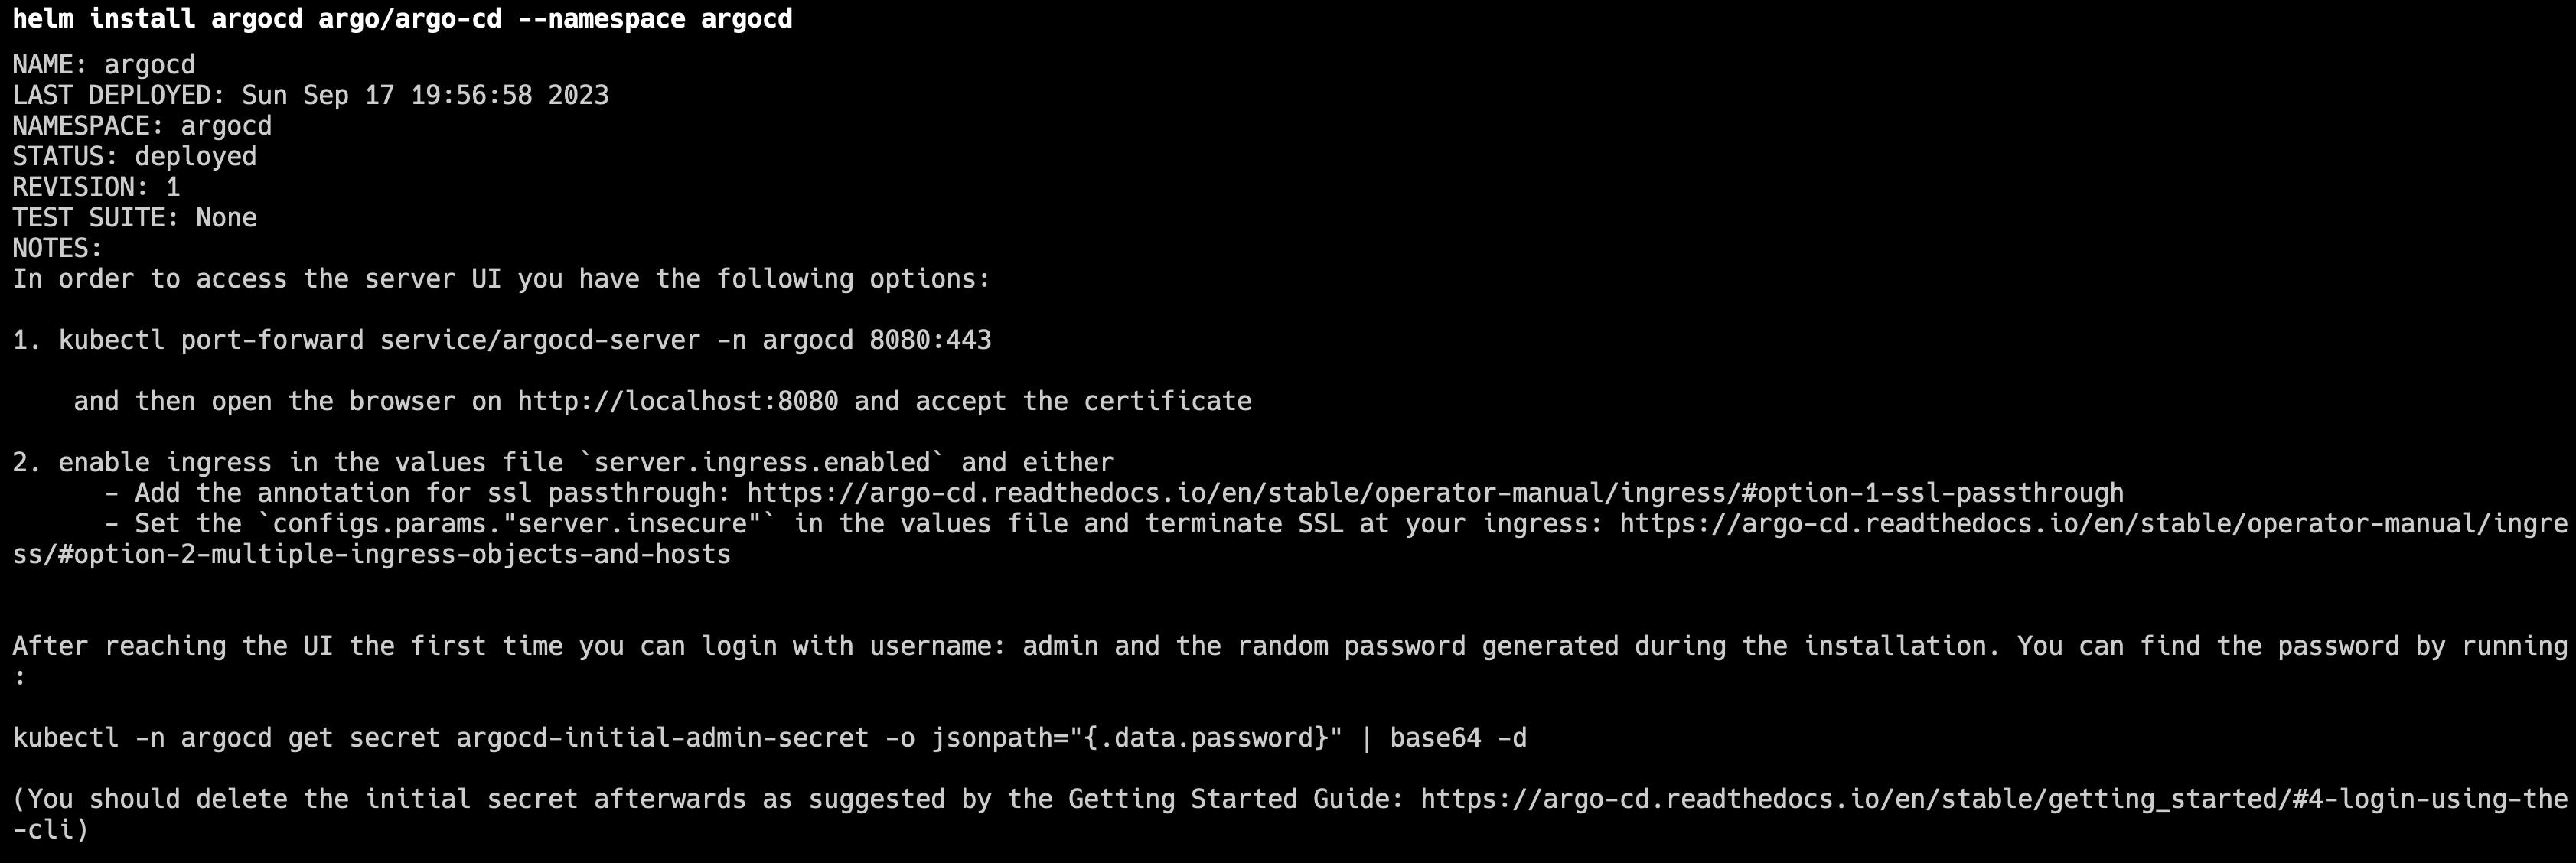
Finally, let's verify that ArgoCD is installed correctly by listing all resources in the argocd namespace:
kubectl get all -n argocd
This command provides a list of all resources deployed in the argocd namespace to indicate that ArgoCD is correctly installed.
Step 2: Accessing the ArgoCD Dashboard
With ArgoCD installed, we can now access its dashboard. Run the following command in your terminal to set up port forwarding:
kubectl port-forward service/argocd-server -n argocd 8080:80
This command sets up a localhost connection to the ArgoCD server via port 8080.
To visit the argocd dashboard, you can click here or go to localhost:8080
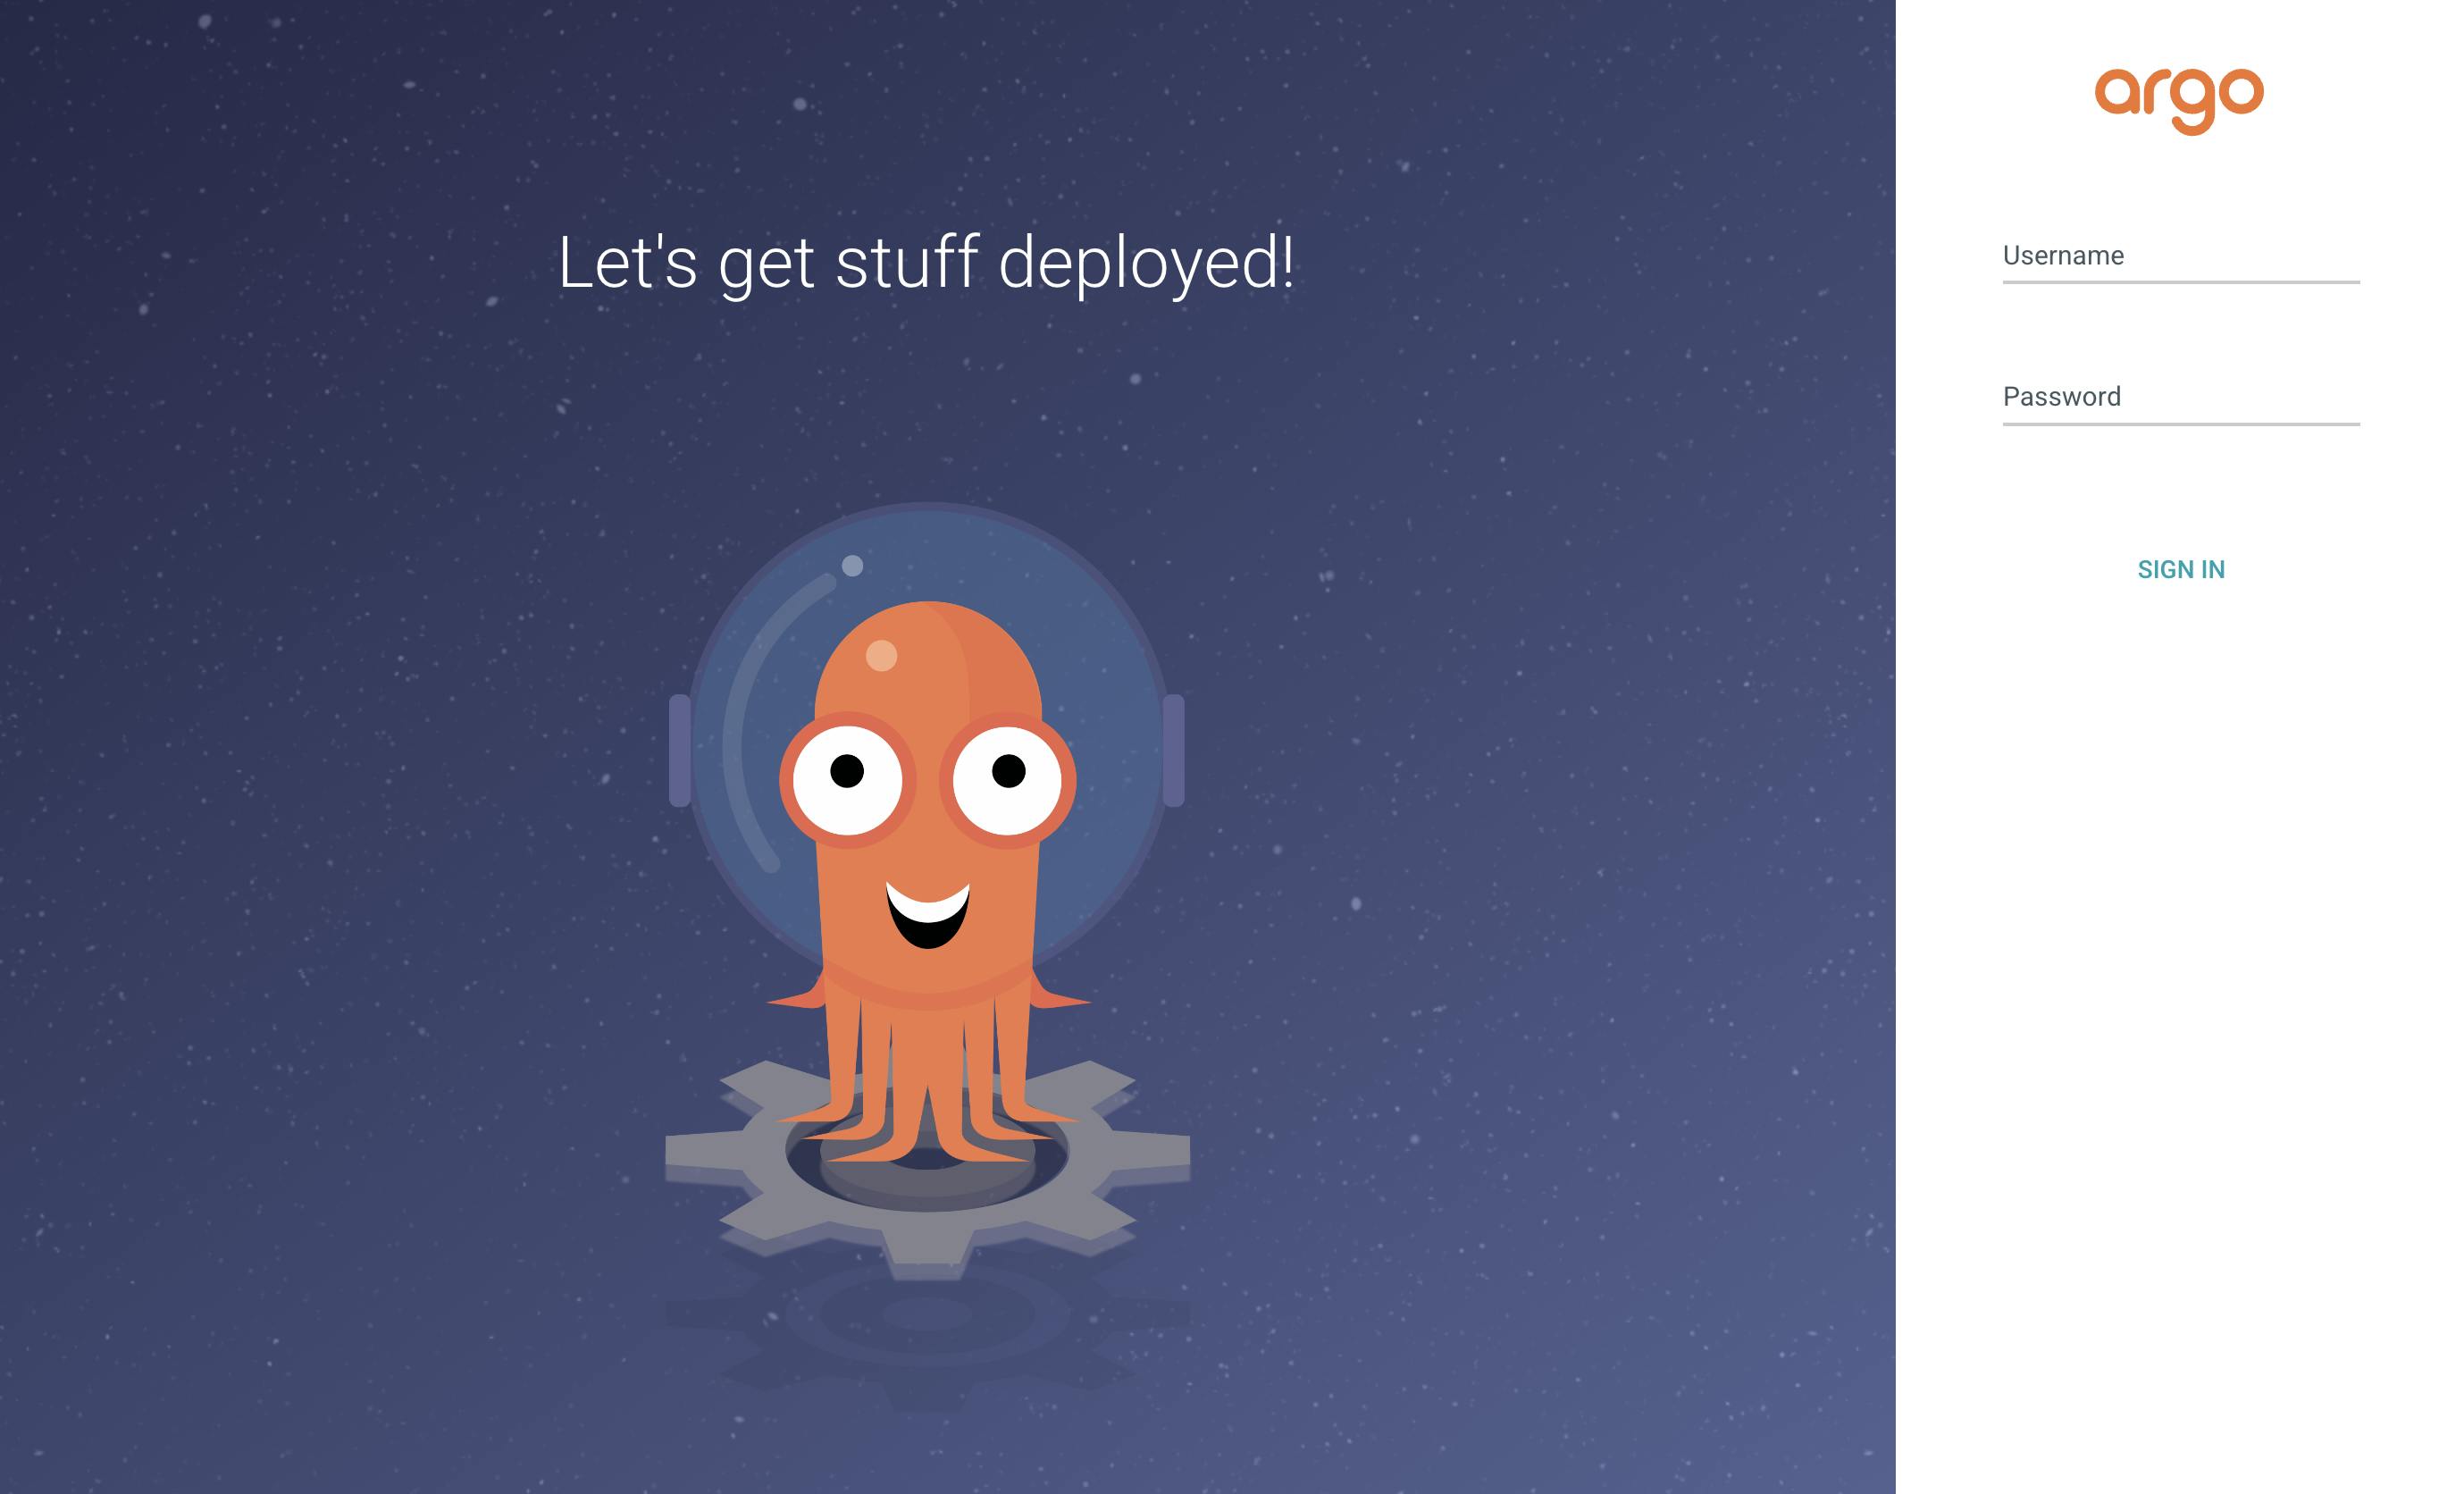
Now log in to the ArgoCD with the username admin and the password for the admin account is auto-generated. This can be retrieved with the following command:
kubectl -n argocd get secret argocd-initial-admin-secret -o jsonpath="{.data.password}" | base64 -d; echo
Now, navigate to your ArgoCD server address (in this tutorial, it's localhost:8080) in your web browser, and log in with the username admin and password you obtained from the previous command.
Step 3: Setting up your First Application using ArgoCD
Lastly, you'll likely be eager to start deploying your applications. You can do this by creating a declarative definition file for your application. A minimal application definition should look like this:
apiVersion: argoproj.io/v1alpha1
kind: Application
metadata:
  name: my-first-app
  namespace: argocd
spec:
  project: default
  source:
    repoURL: 'https://github.com/TheSwarnim/sample-nginx-k8s-app.git'
    path: 'nginx'
    targetRevision: HEAD
  destination:
    server: 'https://kubernetes.default.svc'
    namespace: 'argocd'
  syncPolicy:
    automated: {}
Apply this definition file:
kubectl apply -f <your_filename.yaml>
Now, back in the ArgoCD dashboard, you will find your application and its status:

You're all set! You've successfully installed ArgoCD via Helm charts and deployed your first application. Explore ArgoCD features, automate your deployment cycles, and improve your container orchestration experience. Happy deploying!